Bluemix & ClusterCS
How to setup and manage Bluemix instance with ClusterCS
Adding a new Bluemix server to ClusterCS is very easy and it's done in two easy steps.
- STEP 1: Getting the Bluemix server credentials
- STEP 2: Adding the server to ClusterCS
STEP 1: Get your Bluemix server credentials
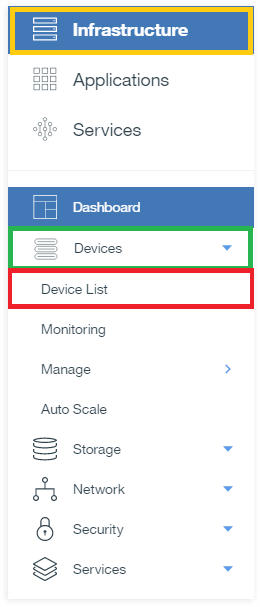
a. Get the droplet IP
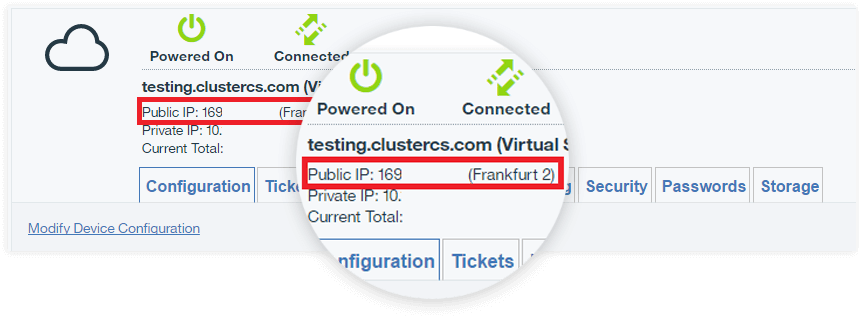
You can get the IP by going to your device list in your Bluemix Dashboard and selecting the server as below:
The IP you need is the Public IP:
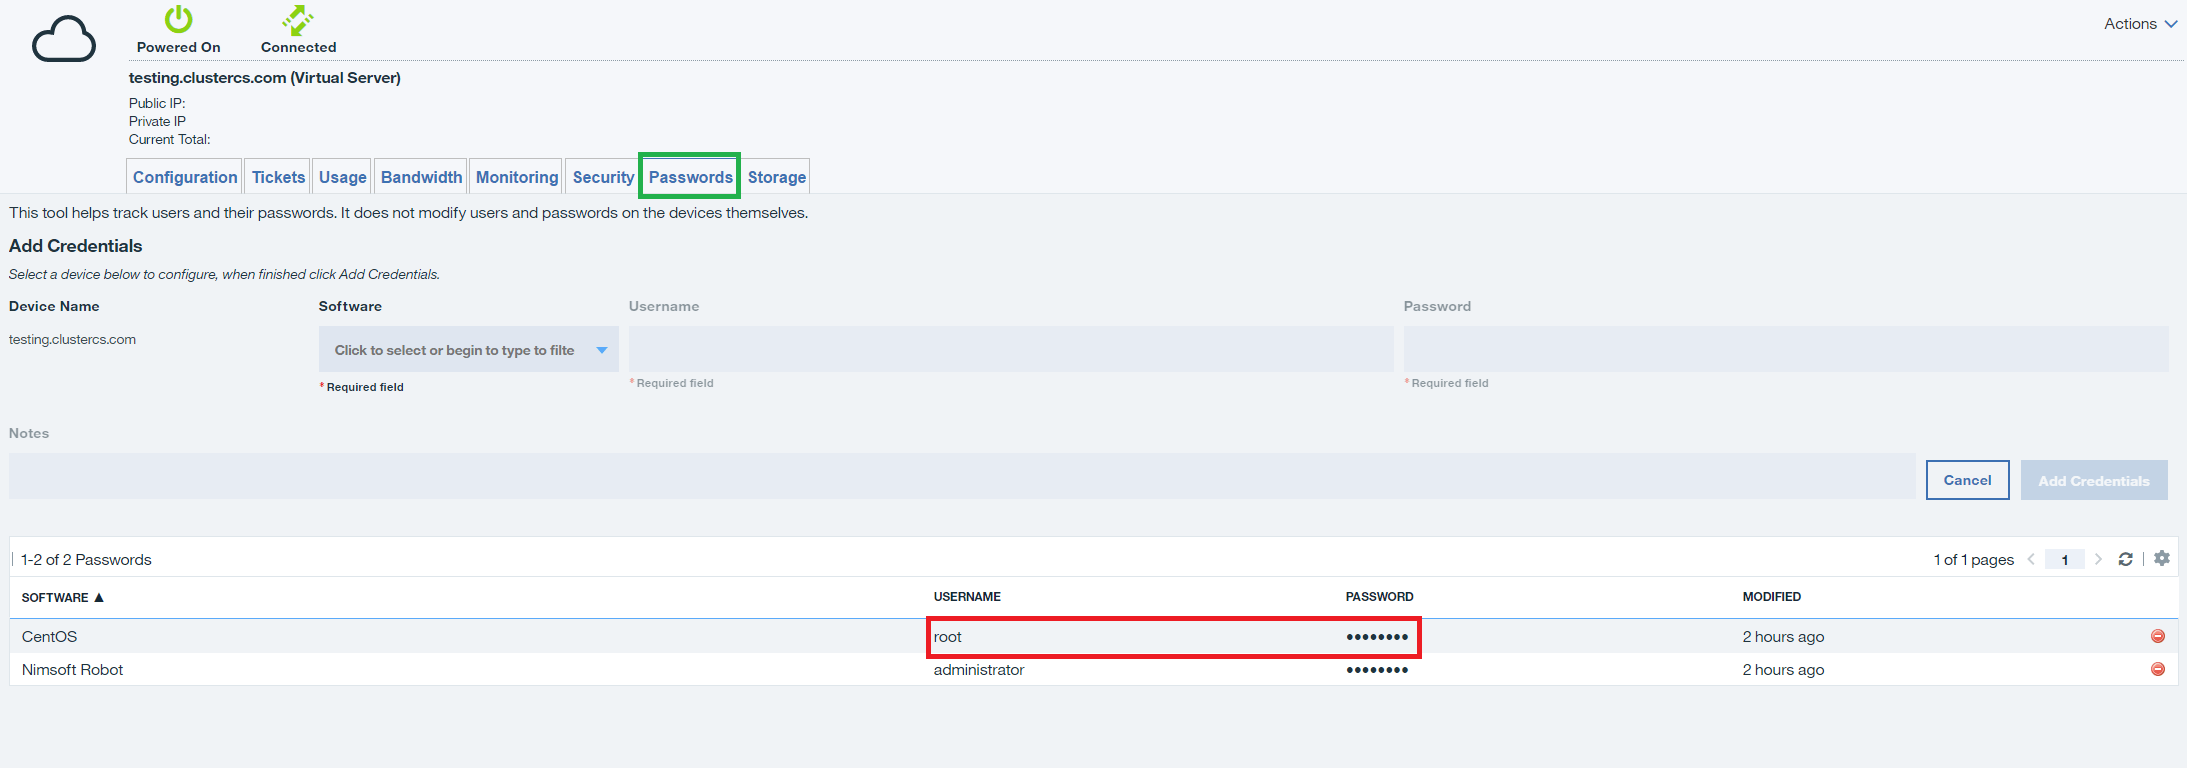
b. Getting the root password:
If you recently have created the server, you must wait between 30 minutes and 1 hour before you have full root access. The credentials are found in the Passwords tab and the one that it`s required it`s the root password. You can reveal it by clicking on it.
After redeeming the server credentials, you can proceed to step 2.
STEP 2. Adding the server to ClusterCS
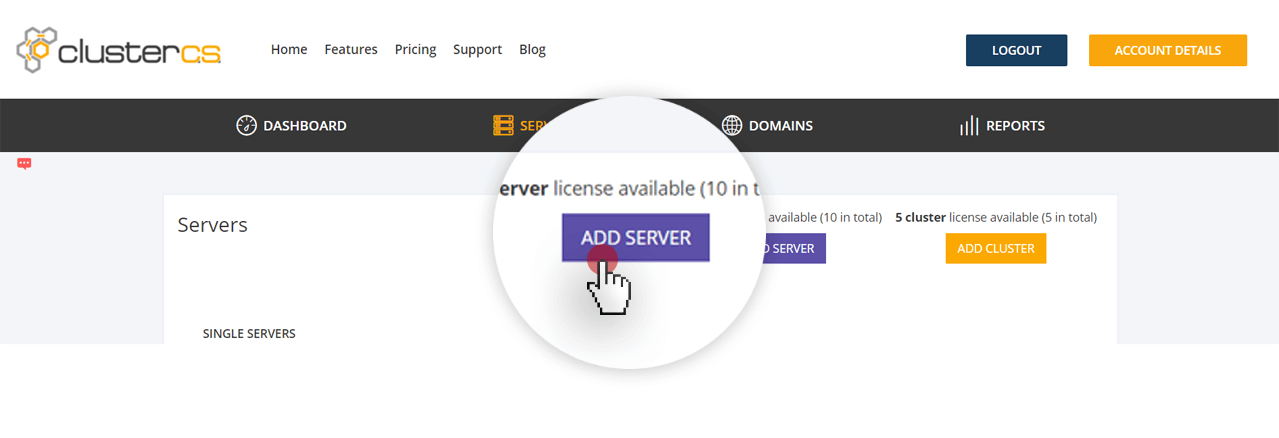
a. Login into your ClusterCS account and proceed to your dashboard.
There you will find the ADD server button as per below:
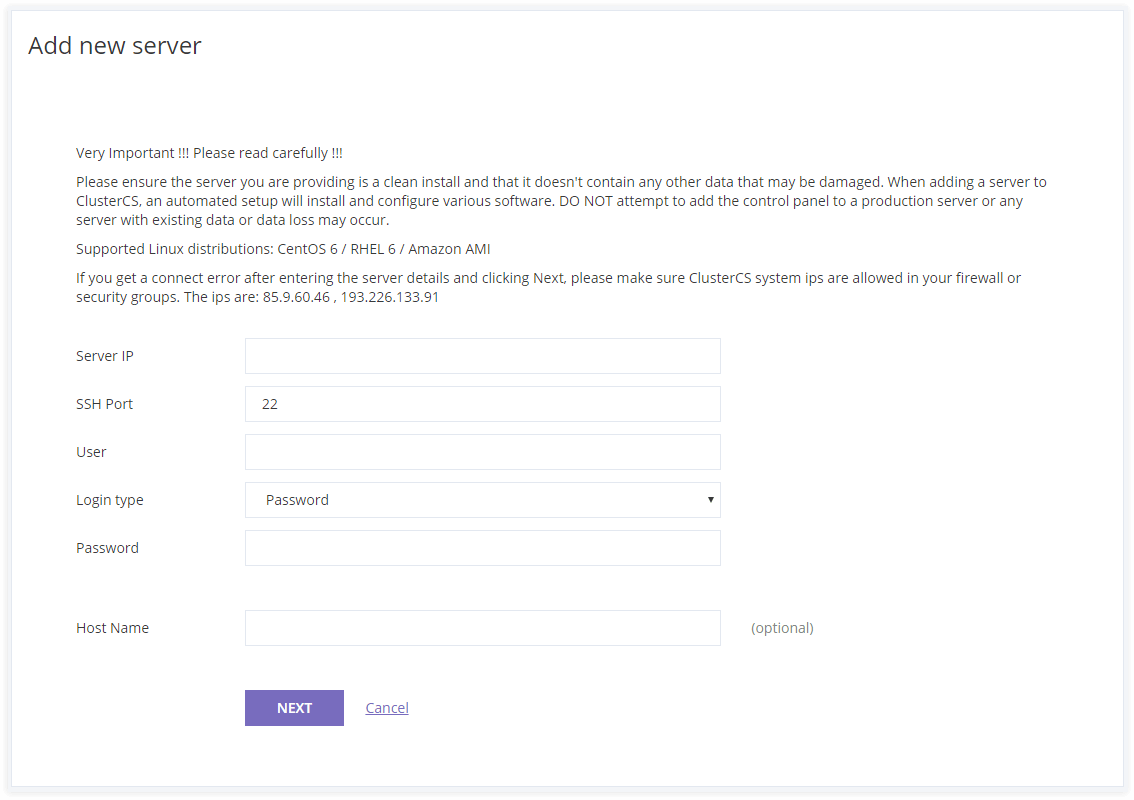
b. Insert the server credentials redeemed at STAGE 1 as per below:
c. The next step is choosing a server recipe (configuration).
We recommend the default, standard LAMP as it has everything it needs to serve websites in an optimized way. The Setup Name is of your choice, you can pick whatever you want, as it is only used by you as an identifier.
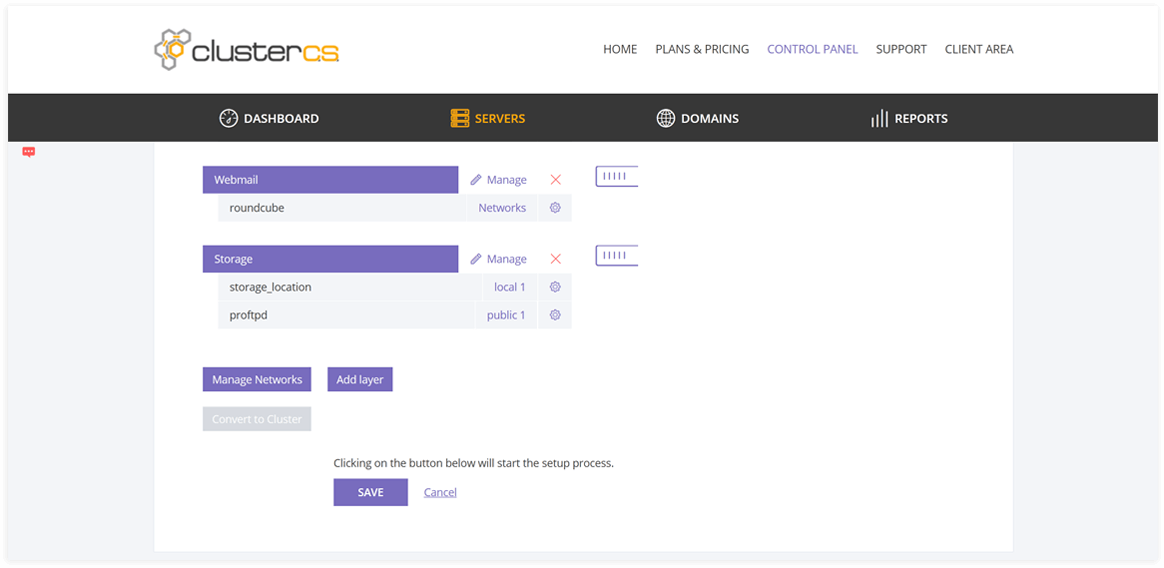
d. Click Save and from this point on, after a 5-10 minutes wait, your setup will be operational, and you can get started with managing your server.
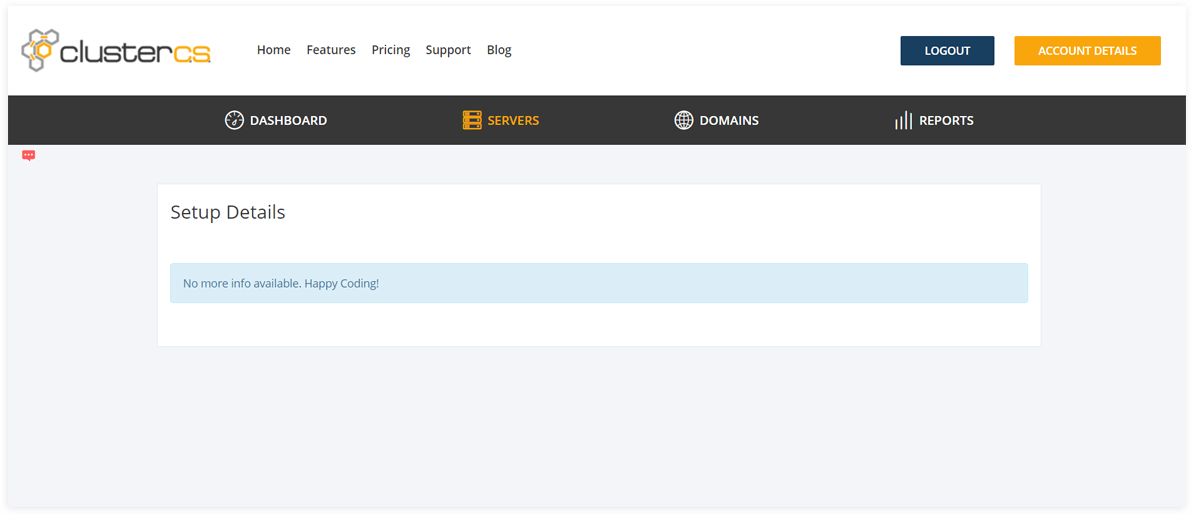
e. This message appears when your server setup is ready. This means your server was successfully added to ClusterCS and you can start using it.