Digital Ocean & ClusterCS
Learn How to setup and manage your DigitalOcean droplet with ClusterCS
DigitalOcean is one of our current partners and our technical team is constantly keeping our system up to date with all the new functionalities that DigitalOcean might launches.
Adding a DigitalOcean droplet to ClusterCS is very easy, and can be done in 3 steps.
- STEP 1: Creat your DigitalOcean Droplet
- STEP 2: Get your server credentials
- STEP 3: Add your droplet to ClusterCS
*NOTE: If you have already created a DigitalOcean droplet and you have access to its credentials you can skip to Step 3.
FIRST STEP: CREATE YOUR DIGITALOCEAN DROPLET
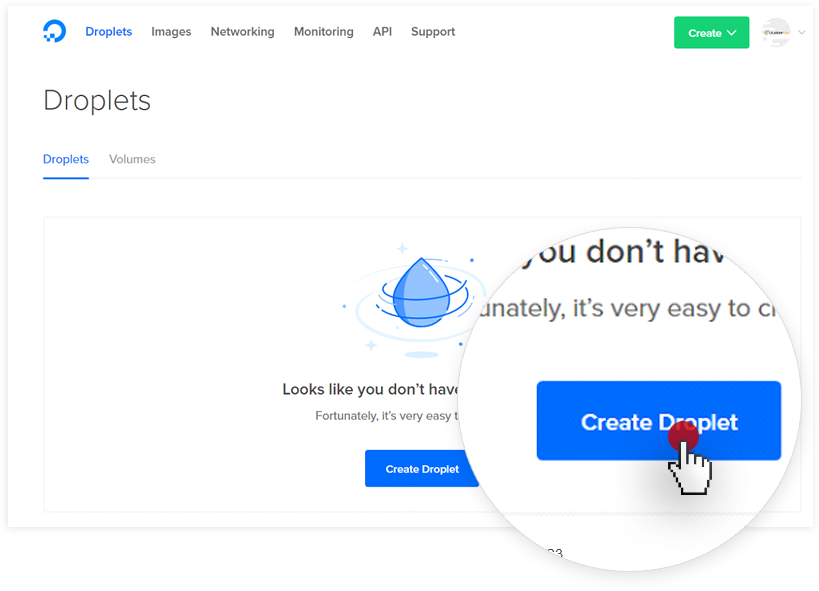
a. Log-in into your DigitalOcean account and then click Create Droplet
b. Choose an image for your droplet and select the OS for your new server.
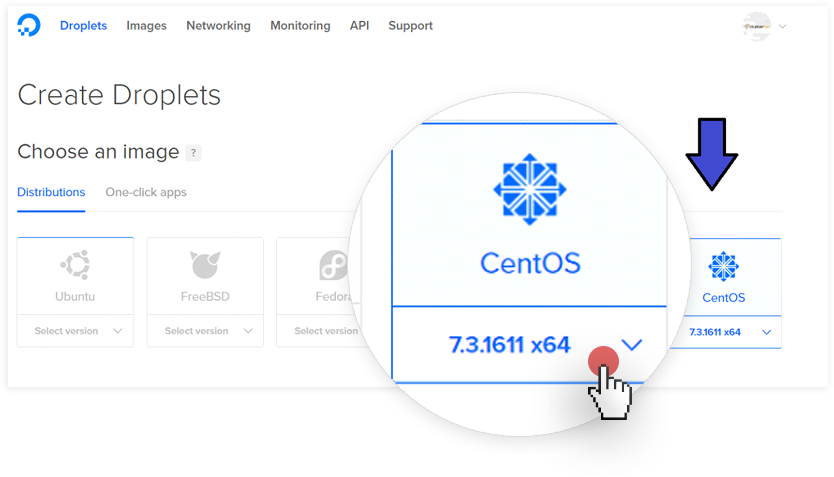
ClusterCS is currently supporting CentOS 6/7, RHEL 6/7 and Amazon AMI.
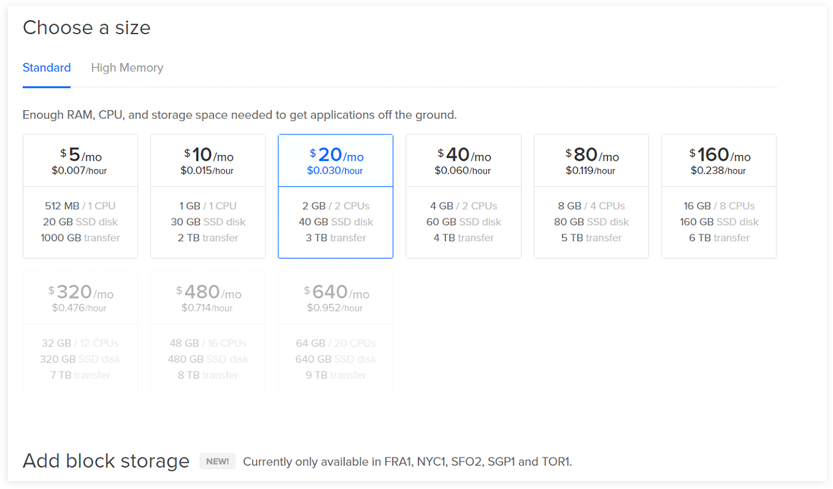
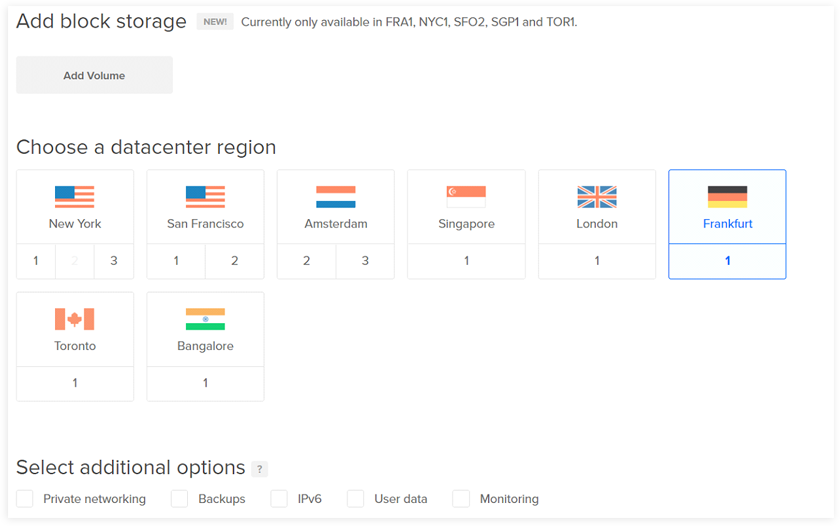
c. Choose your desired Server Size and Datacenter Region.
d. Add your SSH Key and finish creating your droplet.
See how to use SSH Keys with DigitalOcean droplets here
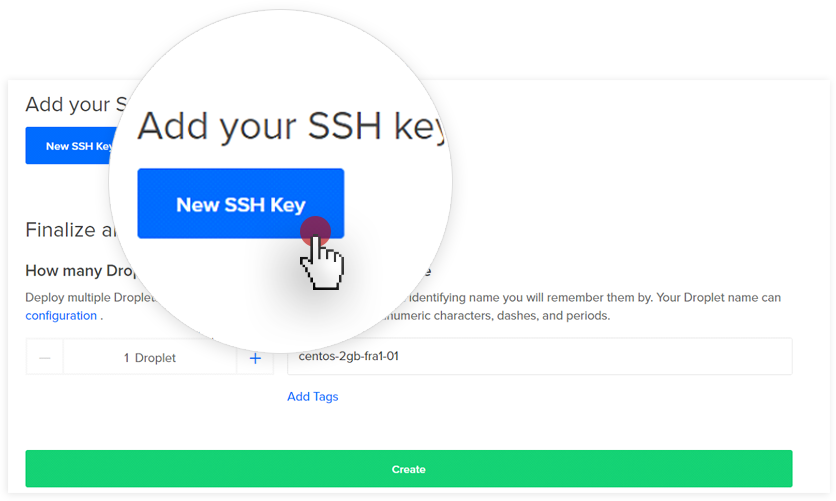
After you finish setting up your SSH Key, click Create and your droplet will be configured in a few minutes.
STEP 2: RETRIEVE YOUR SERVER CREDENTIALS
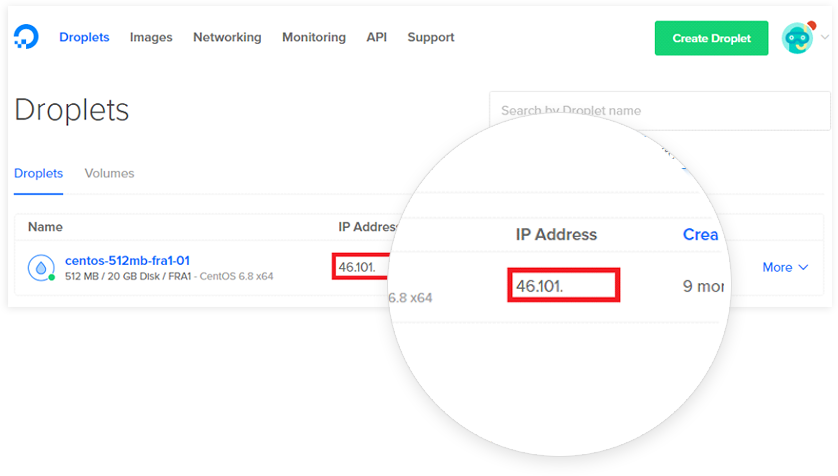
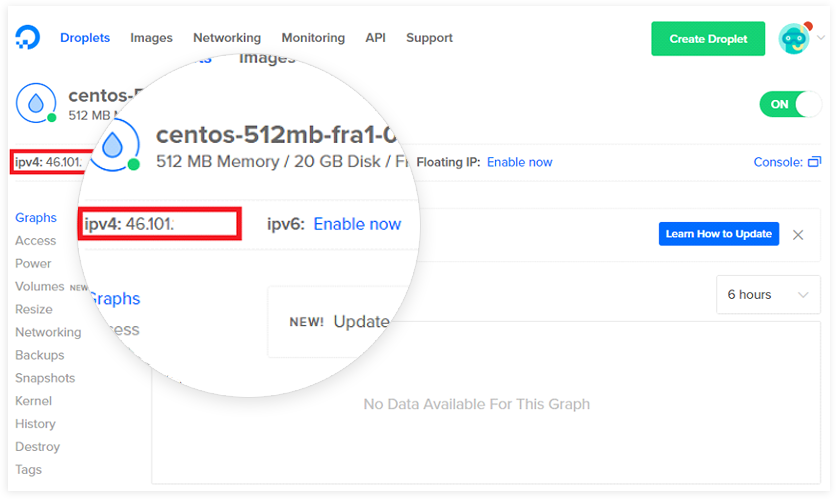
a. After your droplet is created, retrieve the droplet IP.
You can get the IP from the droplet list screen or from the droplet details screen:
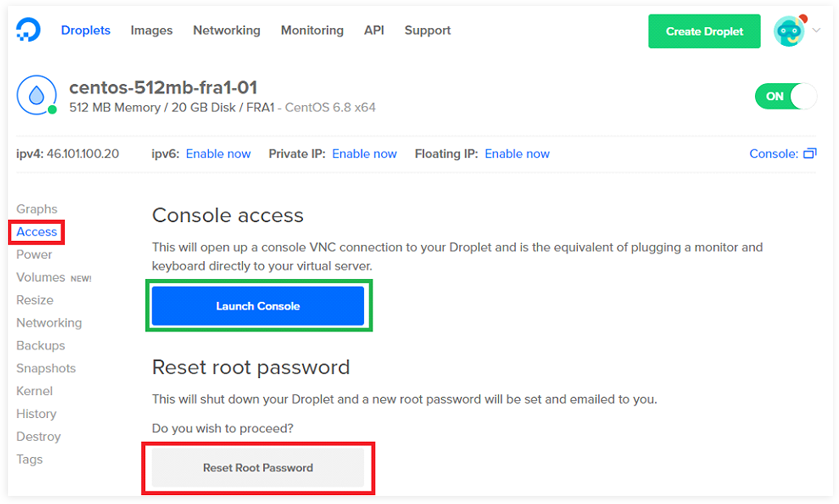
b. Getting the root password:
When you create the droplet, you will receive an e-mail with root login details. (Password included).
If you lost the e-mail and/or forgot the password, you can resend the root password to your e-mail.
Remember to login using the DigitalOcean console first to set your own password.
STEP 3: Add your droplet to ClusterCS
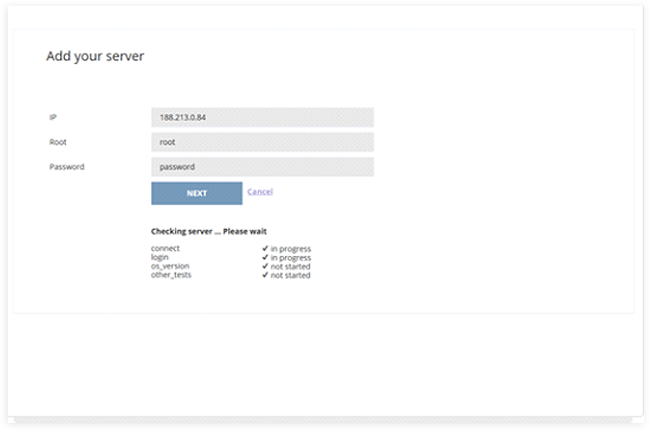
a. Log-in into your ClusterCS account and then click Manage Server -> Add Server.
Once there, make sure you add the information you previously retrieved. Your droplet IP, root and password and insert them in the fields available in the ADD SERVER area.
b. The next step is choosing a server recipe (configuration).
We recommend the default, standard LAMP as it has everything it needs to serve websites in an optimized way. The Setup Name is of your choice, you can pick whatever you want, as it is only used by you as an identifier.
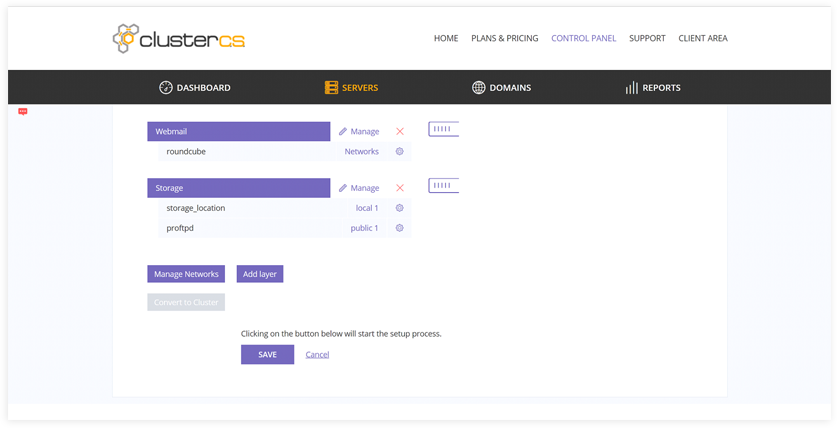
3. Click Save and from this point on, after a 5-10 minutes wait, your setup will be operational, and you can get started with managing your server.
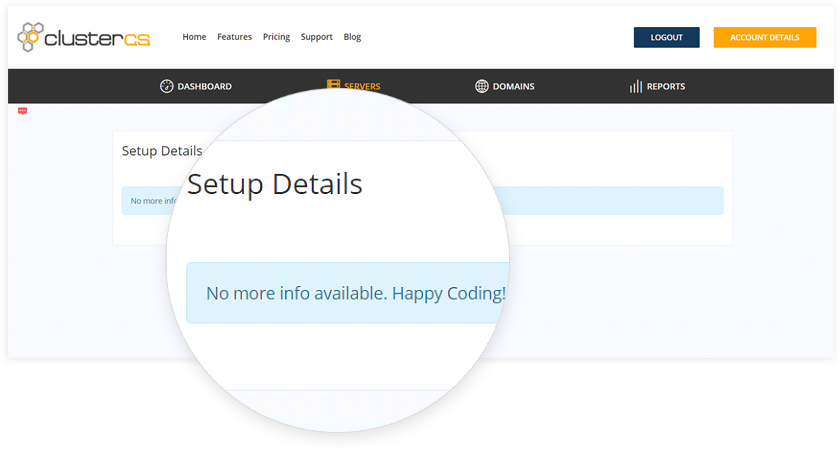
This message appears when your server setup is ready. This means your server was successfully added to ClusterCS and you can start using it.